How to Safely Hang Wall Art – Without Damaging Your Walls! | Northern VA Family Photographer

It doesn’t take a photographer (or a rocket scientist) to tell you that we’ve all put nails into a wall only to realize that it’s either not a good spot for the piece or it is in the wrong place! So now that you’ve spent money on your cherished family photos, how do you hang them without damaging your walls? We’re often asked this by our clients in and around the Leesburg, VA area so we thought we’d put together some pointers! (Keep in mind that our tips are only advice and you should always use your best judgment or hire a professional!)
Location
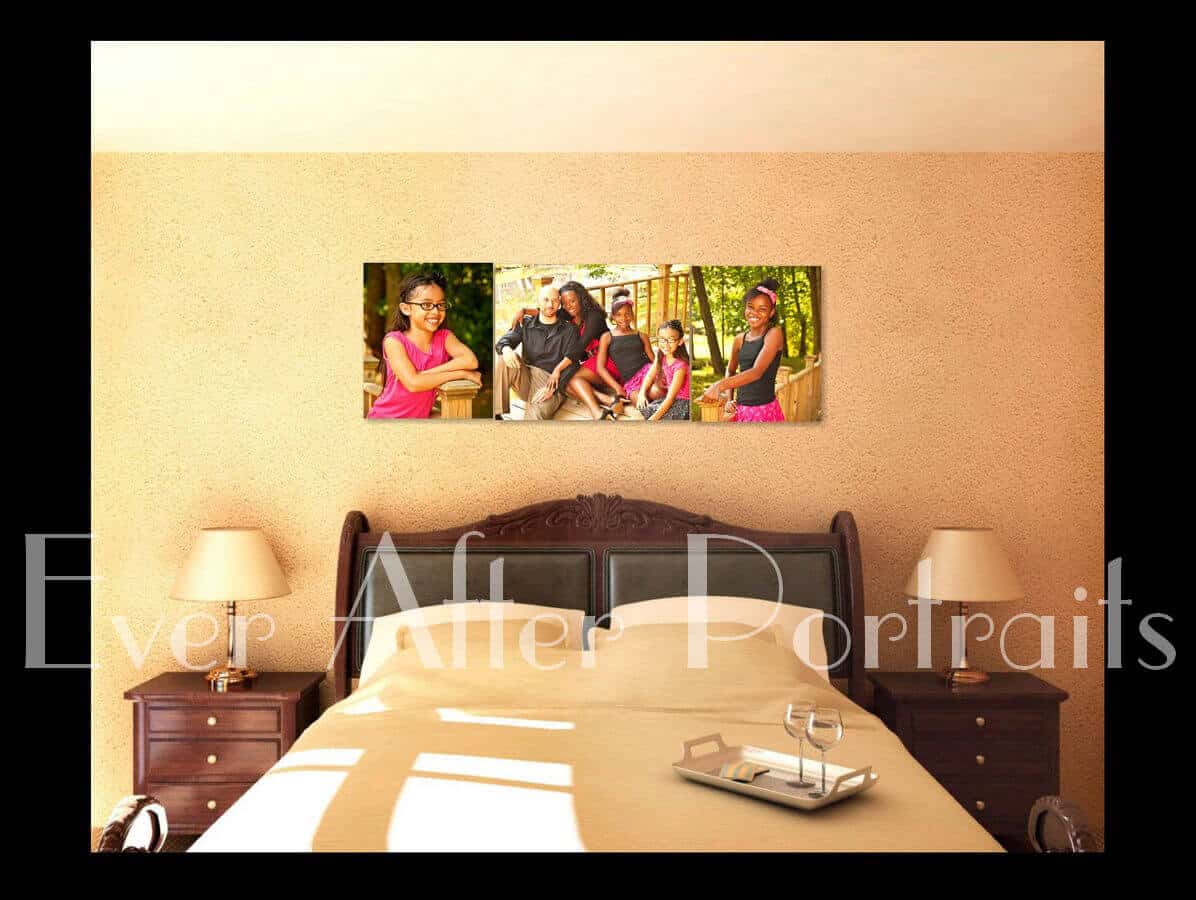
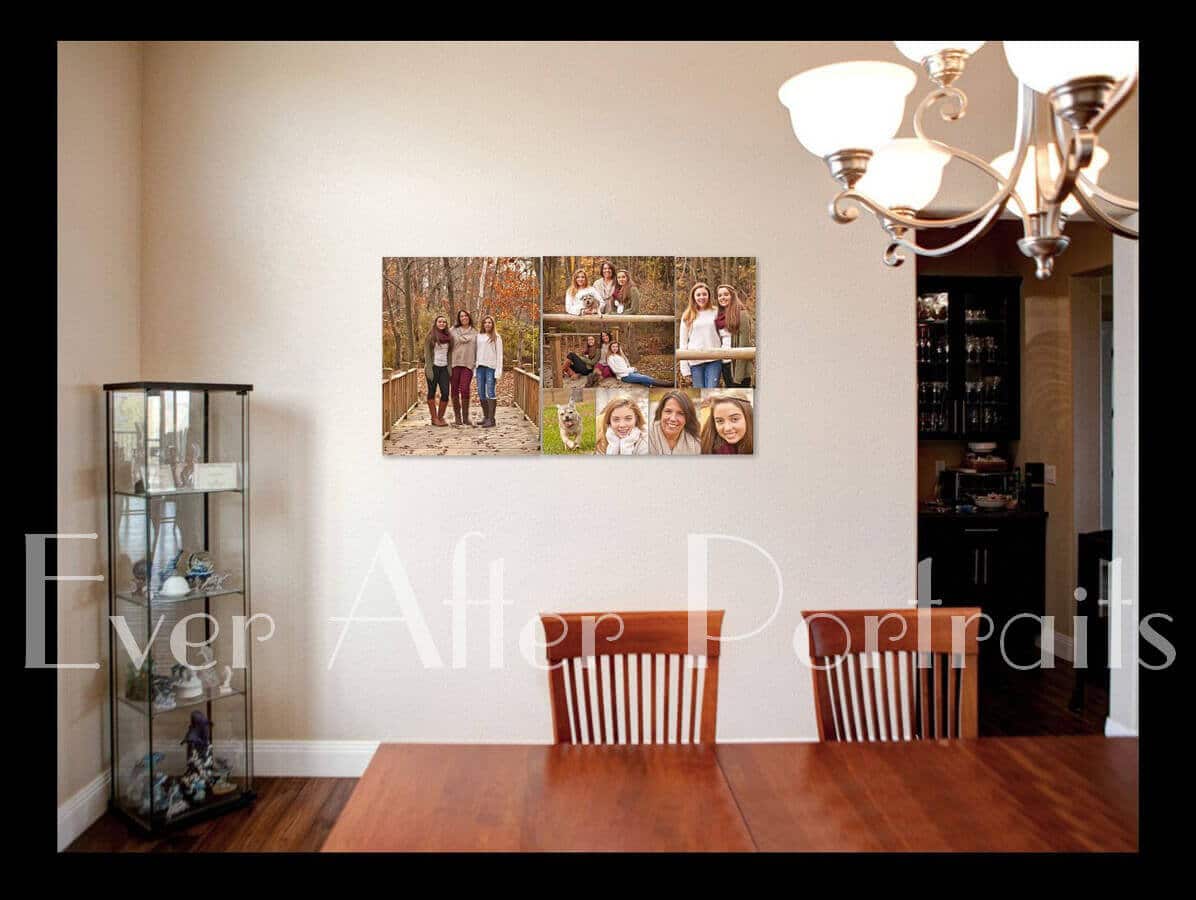
It’s important to carefully select where you would like to hang your portrait photography. You will want to ensure the portrait fits well into the space. It should not appear as too large or too small in comparison to the wall space. Artwork that is too large for the space will overwhelm and look out of place. Artwork that is too small for the size of the wall will appear lost on the wall and will look even smaller.
Hang the portrait so that its center is at about average eye-level. Average would be eye-level for an adult at about 5’3” in height. People often make the mistake of hanging art way too high!
If the piece is heavy, you will need to insert your nail or mounting hardware into a stud to safely hold the weight. A stud finder is the easiest way to find your stud. Otherwise, the old fashioned method of tapping on the wall will do it!
Placement
Having a tough time trying to decide where to hang the portrait on a wall? Use a mock-up using blank paper. The paper should be the same size as the portrait. Use multiple sheets taped together if you need to. Now you can temporarily place your mock-up onto the wall. Then step back at least two to three feet.
Mounting the Wall Art
Measure, measure, and measure again. Mark where you need to hammer your nail or where your drill holes will go. Keep in mind that if there is a wire on your piece for mounting it will change where your photo actually ends up hanging. In other words, pull the wire to see how long it extends once it hangs from the nail. Build that amount into your calculations when deciding where to put your nail.
Tools and Materials
Use the correct tools! Picture hanging kits are inexpensive and readily available. Lighter prints and frames should be fine with a nail into the sheetrock (also known as drywall). A plastic wall anchor mounted into the sheetrock can be used if the piece you’re hanging doesn’t weigh too much. To be on the safe side, use the stud if possible. If you use a stud, no plastic anchor will be needed, but you should use the proper mounting brackets to ensure a nail doesn’t give way in the middle of the night!
Heavier pieces will need a bracket or picture hanger. Portraits heavier than 25lbs. will need to be hung from a stud. A nail inserted into sheetrock will not hold it! Actually, no nail might hold it. Depending on the actual weight, you might need to use special hardware.
Any photographer will tell you that hanging photos isn’t complicated, especially if they’re not heavy. With a little preparation, you can easily hang your beautiful family photos without leaving your walls with dozens of unnecessary holes! However, if you’re ever in doubt, it’s best to hire a professional.
As part of our exceptional customer service, when a client purchases wall art, we offer hanging services! We know how proud you are of your family portraits and how much you’d like to display them perfectly!
Family Photographer, Portrait Photography
Ever After Portraits is comprised of Mindy Belcher and Joriana Belcher Anderson, a mother-daughter photography team located in Northern Virginia, near Leesburg, VA. We specialize in timeless and emotive fine art family portraits.
Family means everything and capturing those precious moments to preserve forever will mean family heirlooms for you to share for years to come.
Best,
Mindy & Joriana – Contact Us!